https://youtu.be/oPukYnvf5WA?si=p2pobXNWmsedzLF9
Replacing the front bumper on your Toyota Hilux can be a complex process, especially if you're installing an aftermarket accessory like our Toyota Hilux Predator bar. Follow this step-by-step guide to help you replace the front bumper on a Toyota Hilux SR5.
Tools and Materials You’ll Need:
- Pry tool or flathead screwdriver
- Socket wrench with a 14-mm socket
- Razor blade or angle grinder
- Bolts, nuts, and washers (supplied with the new bumper kit)
- Hydraulic lifting table (optional but helpful)
- A second person to assist with the installation
- Replacement bumper or an Offroad Animal Toro/Predator Hilux Bullbar
How to remove the Front Bumper of a Toyota Hilux
Step 1: Remove the Grille and Bumper Cover
- Open the Bonnet: Start by opening the bonnet to access the clips and screws that hold the top cover and grille in place.
- Remove Clips: Use a pry tool or flathead screwdriver to push in the clips' buttons, making them easier to pry up and remove. Once done, pull off the top plastic cover.
- Unscrew the Grille: There will be a few screws securing the grille to the car. Remove them and set them aside for reinstallation later.
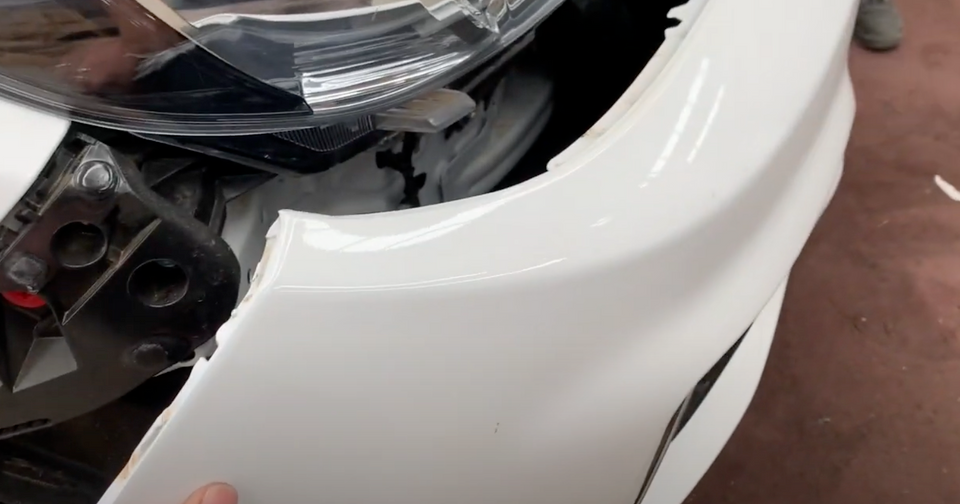
- Detach the Bumper: On both sides of the vehicle, remove the clips securing the bumper. Use the pry tool to unclip and pull the bumper away from the body.
- Disconnect the Fog Lights: Before fully removing the bumper, unplug the fog lights on both sides to avoid damaging the wiring.
Step 2: Remove the Existing Bumper and Accessories
- Unclip the Bumper: With the grille and bumper disconnected, make sure any remaining clips or connectors are undone. The bumper should now come off entirely.
- Separate the Grille: If your new bumper reuses the factory grille, separate the grille from the old bumper. There will be clips holding it in place.
- Remove Air Guides and Crash Bar: Depending on your installation kit, you may need to remove the air guides and the crash bar. The crash bar can be removed using a 14-mm socket. Set aside any parts you'll reuse later.
How to install a bumper replacement Bullbar to your Toyota Hilux
Step 1: Prepare the Vehicle for the Bullbar
- Trim the Air Guides: If your kit requires it, trim the air guides with a razor blade. You can usually leave the top guides intact, but trim the bottom guides for proper fitment.
- Install Side Plates: Begin by installing the side plates using fine thread M12 bolts. Position the plates and loosely secure them with nut plates.
- Install Cage Nuts: Before attaching the new bullbar, install cage nuts into the bullbar mounts, as instructed by the kit.
Step 2: Mount the Bullbar
- Align the Mounts: Loosely fit the bullbar mounts using the bolts from the factory crash bar. Ensure the mounts are adjustable by measuring the distance between the mounts and comparing it to the width of the new bullbar.
- Trim the Grille: For Hilux models with radar, you may need to modify the grille. If your model doesn't have radar, simply cut along the designated lines using an angle grinder, discarding the bottom portion and reusing the top.
- Attach the New bullbar: With assistance (or using a hydraulic lifting table), position the new bullbar on the mounts. Ensure there's a 15-20 mm gap between the bullbar and the body to allow for movement.
Step 3: Adjust and Secure the Bullbar
- Tighten Bolts: Once the bullbar is in position, tighten the bolts securing it to the chassis. Leave a slight gap between the bullbar and the body to avoid contact during movement.
- Install Mesh Panels: If your bullbar includes mesh panels, attach them now. Some models have mesh panels for both the front and sides, which provide access to a winch if installed.
Step 4: Final Adjustments and Finishing Touches
- Trim the Wheel Well Liner: Depending on the fitment, you may need to trim the wheel well liner to fit snugly behind the bullbar’s underpanel. Cut approximately 30-40 mm off to achieve the desired fit.
- Install the Compliance Plate and Number Plate: Attach the compliance plate out of direct view, and reinstall the front number plate onto the bullbar.
- Close the Bonnet: With everything installed and secured, close the bonnet to complete the job.
Final Notes
Replacing the front bumper on a Toyota Hilux can be a detailed process, but by following these steps, you can install your new bumper or a bullbar securely. Take your time with measurements, ensure all components are aligned, and use the proper tools to guarantee a perfect fit.


