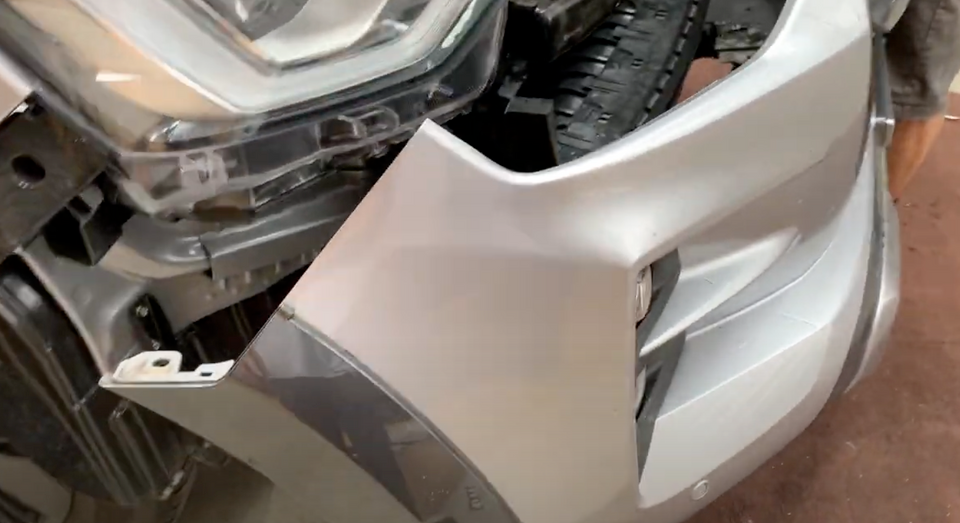
Upgrading your D-Max with a bull bar requires removing the front bumper carefully. Follow this detailed step-by-step guide to complete the process efficiently.
https://www.youtube.com/watch?v=PrAAXCMsiqM
Tools and Materials Needed:
- Flat-head screwdriver
- Phillips-head screwdriver
- 10mm socket and wrench
- Razor blade or utility knife
- Cable ties
- Bull bar and mounting kit (including brackets, bolts, and washers)
Step 1: Remove the Top Shroud
- Locate the pull clips on the top shroud.
- Use a flat-head screwdriver to carefully pop out each clip, including the one underneath the shroud.
- Set the shroud aside.
Step 2: Detach the Grille
- Locate the Phillips-head screw in the middle of the grille. Remove and keep it for reuse.
- Unscrew three additional screws under the grille—one in the middle and two on the sides.
- Remove the retaining clips from the top of the grille.
- Slide the grille out gently and set it aside.
Step 3: Remove the Front Bumper
- On the inner wheel liner, pop out the retaining clip and unscrew the small screw securing the liner to the bumper using a 10mm socket.
- Unclip the bumper from the fog light and sensor looms, then unplug the wiring harnesses.
- Remove the remaining screws under the air dam. Once loose, pull the bumper away from both sides.
How to install a D-Max bullbar
Step by step instructions on how to install a bumper replacement bullbar on an Isuzu D-Max.
Explore our range of Isuzu D-Max Bullbars
Step 1: Prepare for Bull Bar Installation
- Transfer components from the old bumper to the bull bar:
- Detach the fog lights and indicators from the bumper and attach them to the bull bar.
- Remove and reinstall the sensor housings.
- Remove the factory crash bar bolts. Set aside these bolts for reuse during the bull bar installation.
Step 2: Install the Bull Bar Mounts
- Position the bull bar mounting brackets on the chassis and secure them using the factory bolts.
- Adjust the mounts to ensure a gap of 2–3mm wider than the bull bar itself for proper fitment. Tighten bolts once aligned.
Step 3: Attach the Bull Bar
- Align the bull bar with the mounting brackets.
- Loosely secure it with the provided M8 bolts and washers.
- Adjust the bull bar to maintain a consistent 15–20mm gap from the vehicle’s body.
- Tighten all bolts securely.
Step 4: Install Additional Components
- Attach the winch by mounting it to the designated section of the bull bar. Feed the cables to the battery and secure them.
- Install the fairlead and mesh panel, ensuring proper alignment.
- Mount the bash plate beneath the bull bar and refit the factory bash plate using original screws.
Step 5: Trim and Secure the Wheel Liners
- Mark and trim the inner wheel liners using a razor blade to allow clearance for the bull bar.
- Reattach the liners using screws and clips, ensuring they are securely held in place.
Step 6: Finishing Touches
- Attach the compliance and logo plates to the bull bar.
- Use cable ties to organize wiring and ensure they do not interfere with moving components.
- Test all components, including lights, sensors, and the winch, to confirm proper functionality.


